No menu items!
No menu items!
No menu items!
Home Blog

Why Drawing Faces Are Easier (and Funnier) Than You Think

Most people freeze up when they hear “draw a face”.

They imagine perfect proportions, realistic shadows, and portraits that belong in a museum. Forget all that!

Think of Cartoons Instead

Cartoons live in the opposite world: they thrive on simple shapes, funny exaggerations, and personality over perfection. In fact, the uglier or sillier the drawing, the better. It makes people laugh, which is the point.

So what do you need to get started? It’s all here for you in this state of the art toolbox!

You don’t need to draw a masterpiece, you just need to create something with life.

How about a circle, two dots, and a line?

That’s already a face. Shift the line up or down, and suddenly your little doodle looks happy, sad, or grumpy. That’s the magic of cartoons. They’re fast, expressive, and fun.

Mini Challenge!

  1. Draw a circle
  2. Add two dots for eyes
  3. Add one line for the mouth
  4. Repeat – each time, change the line in different ways to test different expressions and emotions

How to Draw with Lines and Shapes!

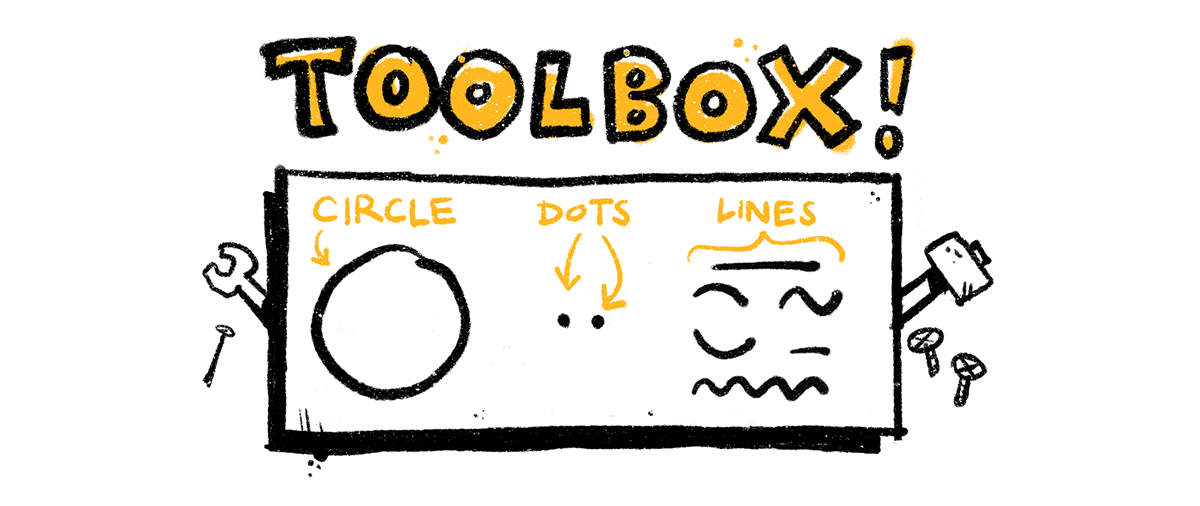
Everything is created from something. In this lesson, I’m going to show you the building blocks I use to create my illustrations.

Simply knowing how to draw lines and basic shapes is all you need to create more complex drawings.

Let’s start with the basics – Straight Lines!

(1) Anyone can draw a dot. And if you can draw a dot…

(2) …Then you can draw a line

(3) Lines can be drawn in a repetitive sequence to form a pattern. Here we have a pattern of horizontal lines and vertical lines.

But do you know what’s even cooler than vertical and horizontal lines?

(4) Designs become way more interesting when you incorporate diagonal lines.

Getting sick of straight lines? Then by golly…

…Wait until I tell you about Curves!

Curves are another great tool for creating interesting designs. The two main types of curves are C-Curves (5) and S-Curves (6).

In art, things can be simplified, as long as the message is still there. If you simplify the C-Curve and S-Curve into straight lines and angles. they are no longer curves, but you can still see a C and an S.

We’ve just covered lines and curves…

Let’s now build things up a bit more…

(7) If we put these simple curves into a repetitive pattern, they become a Wave.

(8) And straight lines and angles become a Zig-Zag.

Now! Let’s talk about Line Variation (9). This can be done by pushing your pen on your surface at different levels of pressure, or just using pens with different brush sizes.

I’ve included a dotted line on the right to show you that you can create the illusion of a thinner line by breaking up your line into smaller parts.

Being able to draw lines is super important. And if you can draw a line…

…You can draw a Shape!

(10) For lack of a more interesting caption: this is a Square, a Circle and a Triangle

These shapes look awfully empty, so let’s look at some shading…

Shading is just lines

give this square some shading, using some simple thin lines. Now let’s make the shading twice as dark by adding another layer of lines. This is a simple form of a cross hatch.

And let’s say that you don’t want to see any white in your square at all, then just simply fill it entirely with black.

Where to From Here?

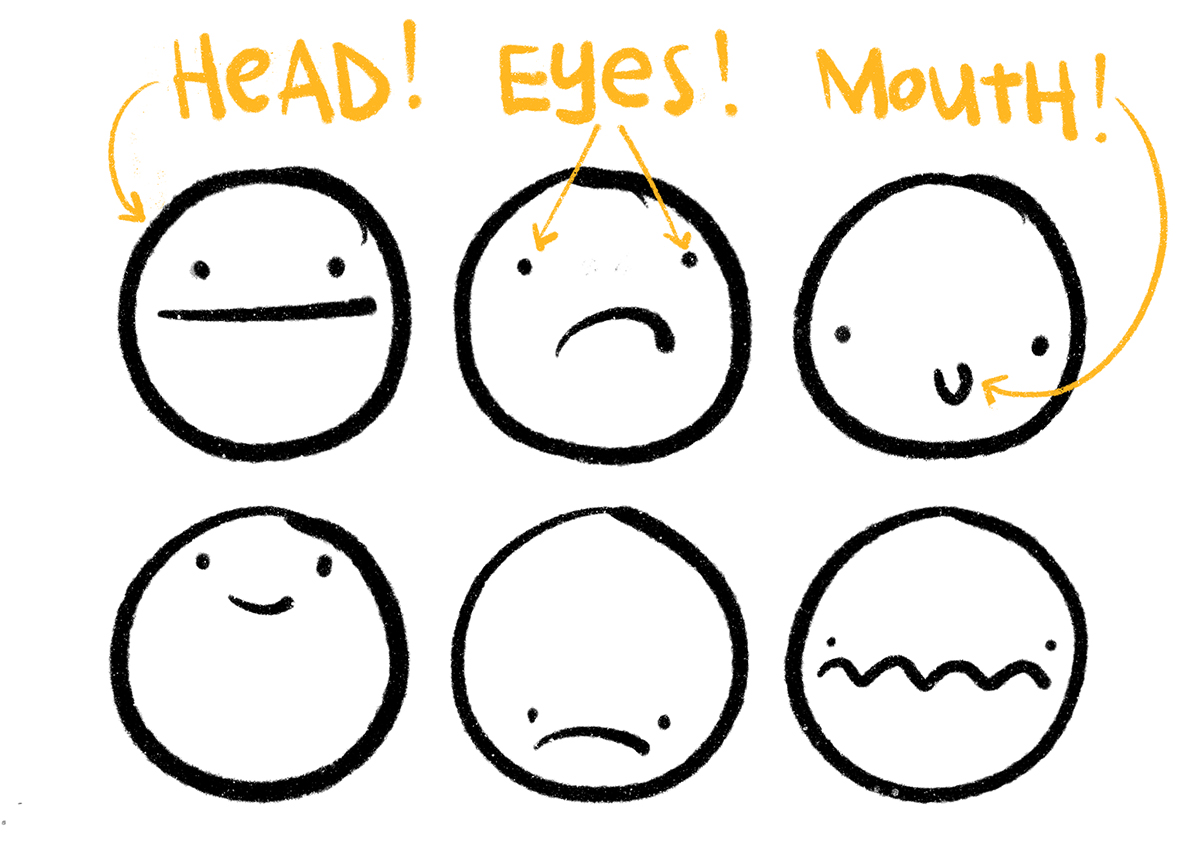
Once you are confidently able to draw lines and shapes, you will be able to use them to design drawings.

Your Image

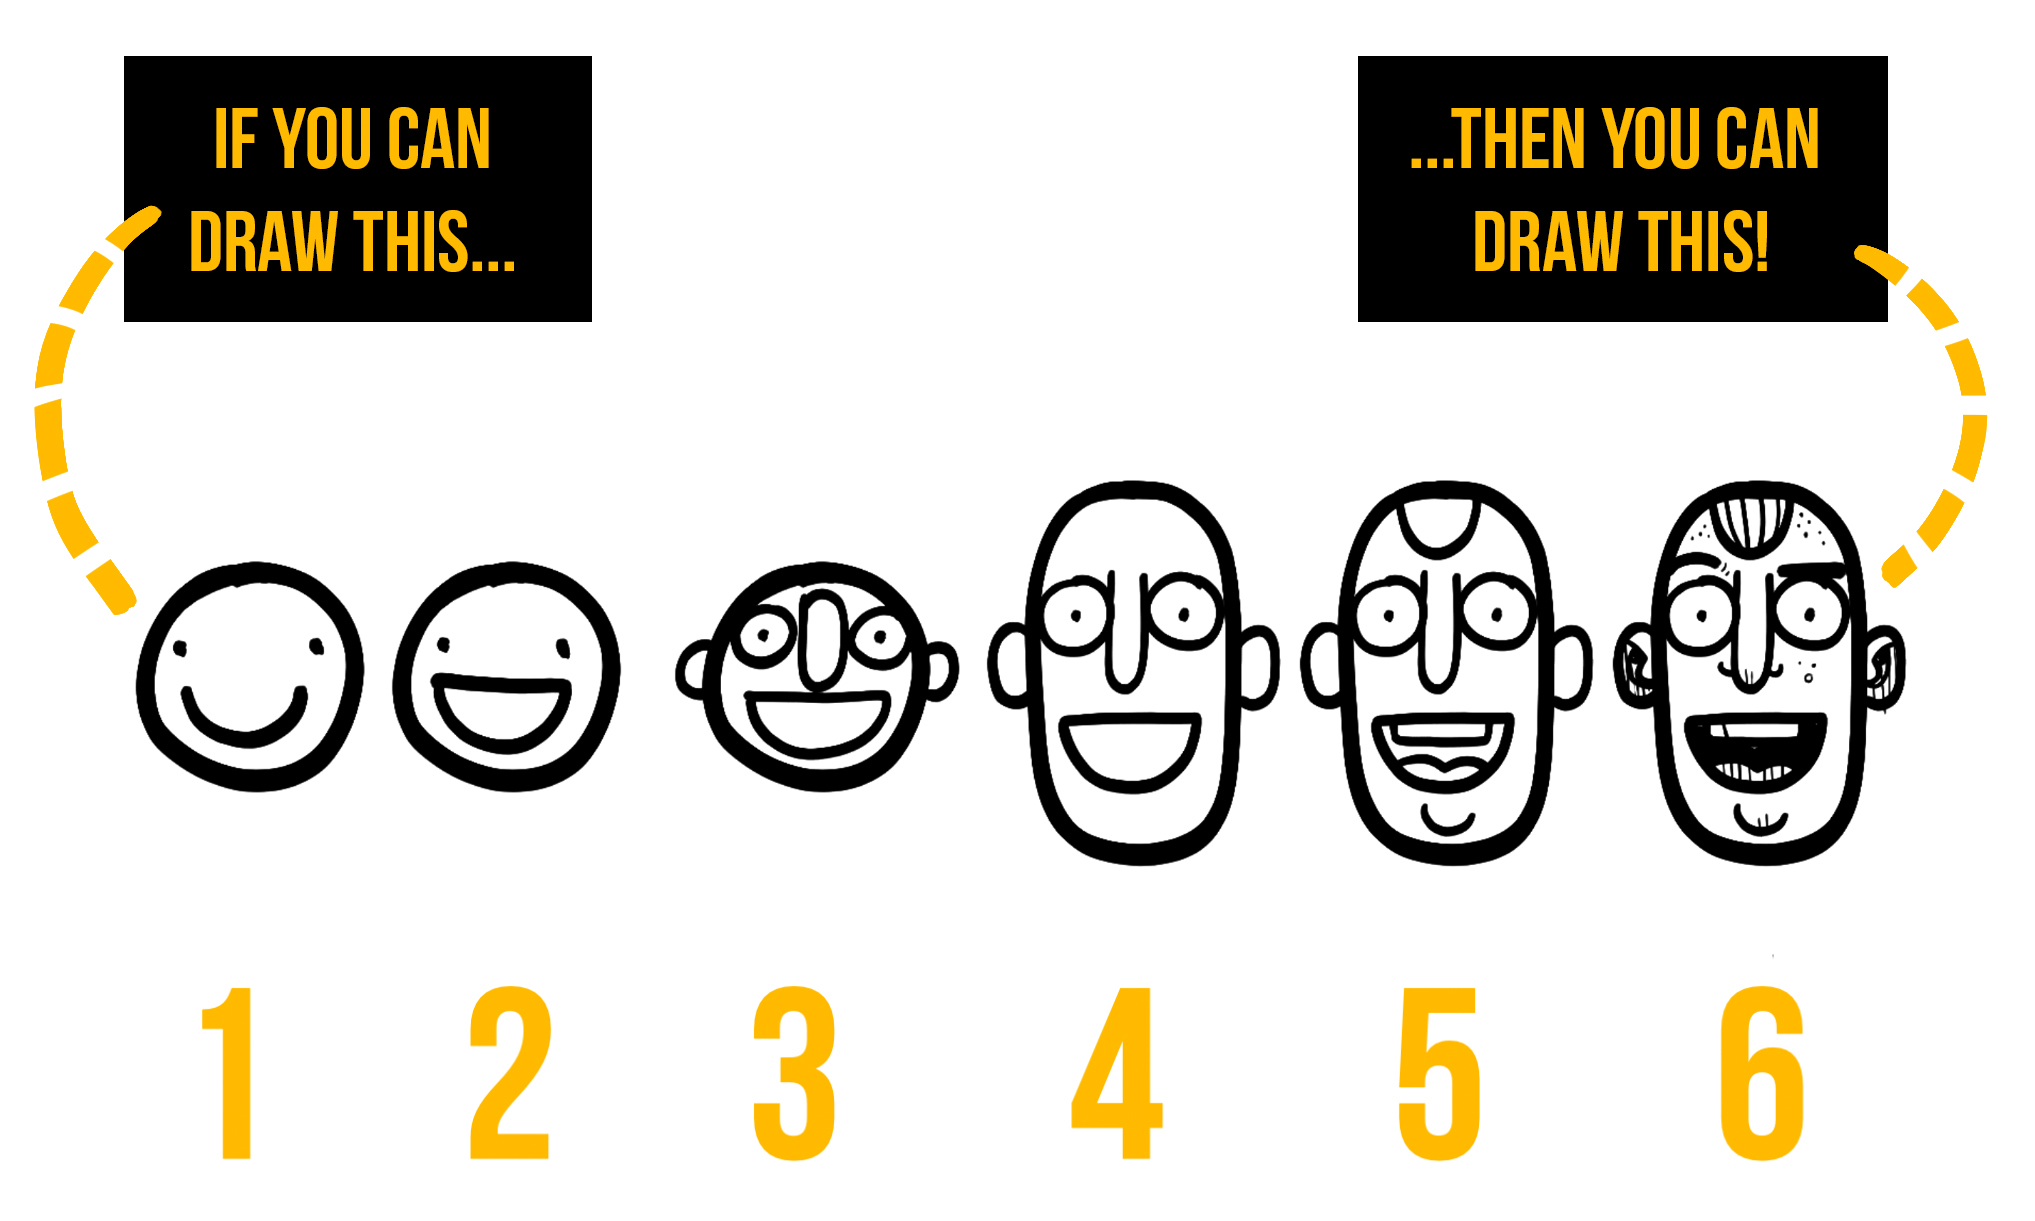
I have drawn six heads here – each one is similar to the one before it, but with a gradual increase in complexity.

If you can draw Face 1, then you can definitely draw Face 6. All you need is a few more lines and shapes.

Mini Challenge

Fill a page with the lines and shapes that we’ve covered in this lesson. Repetition will lead to more confident and accurate designs!

Once you’ve warmed up, have a go at drawing the six heads!

How to Draw a Face – Lesson 4

In this lesson, we’re going to be drawing a face. This drawing can be created in four steps: Shapes, Details, Shading and Color. Anyone can learn to draw from scratch, so let’s begin!

Step 1: the Shapes

The head is kind of shaped like a pointy egg. The top point is a little to the left, and the bottom point is to the right. To make this head asymmetrical, in the first image, I’ve drawn a horizontal guideline with one vertical line going up to the top of the head, and another line going down to the bottom of the head.

We now have four rounded triangles making up the head. This is to show that even strange shapes can be broken down into simpler ones!

Once the head is complete, draw in some circles for eyes, a big bean shape for the mouth, a vertical line for the nose and two ears.

Step 2: The Details

Let’s start with the BIG details! We have drawn in the main shapes, and now we can start putting in the details. In the mouth we’ve got a lightning bolt zig zag and a triangle. In the ears there’s a zig zag and L shape. The hair at the top is just a U shape, with some jagged curves poking out underneath his ears. For the chin, I’ve drawn in a U shape and in his eyes there are some very fancy lookin’ letter Cs. Above the eyes I’ve drawn in some bendy rectangles.

For the FINE details, we’ll need to be drawing with thin lines. This includes curves inside the hair shapes, and an X shape in his chin. Inside his mouth, I’ve drawn some additional shapes on the left side, some some choppy ocean waves for his gums and some additional zig zags and lines to show hints of his teeth. Also, I’ve feathered out his eyebrows with some repetitive thin lines.

Step 3: The Shading

Let’s start with the solid darks. Fill in black around his teeth, on his eyebrows, hair and inside his ears. Next drop in some thin lines on his chin, ears and hair.

Step 4: The Colour

Finally, let’s put in some colour. This image has seven flat colours – Three blues, three skin tones and one red.

How to Draw a Viking

In this tutorial, you’ll learn how to draw a viking from scratch!